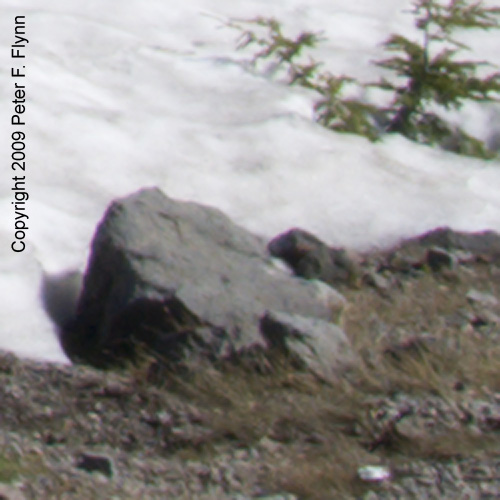
In a previous entry we considered the crop from an image posted on February 6th entry (see below). Notice the purple fringe around the left side of the rock at the margin between the rock and the snow. In this entry we’ll examine how the effect can by minimized using Adobe Camera Raw.
We begin by opening the original file in Adobe Camera Raw (ACR). For Nikon shooters, this means opening the NEF file. We are using CS4, and the version of of raw conversion software is ACR5.2. The correction we are interested in is under the Lens Correction section, which is the sixth icon to the right. A screen shot of the correct panel is shown below:
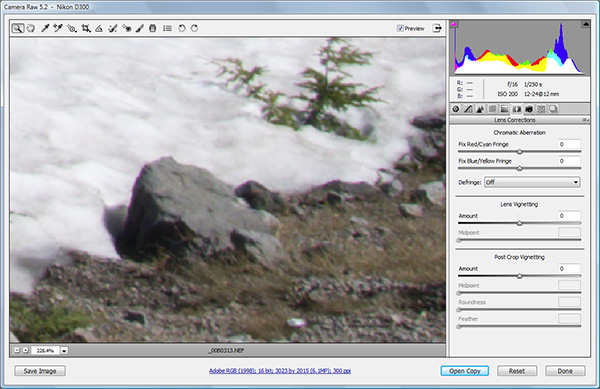
It is impossible to see the details present on the right hand panel, so here is a zoom: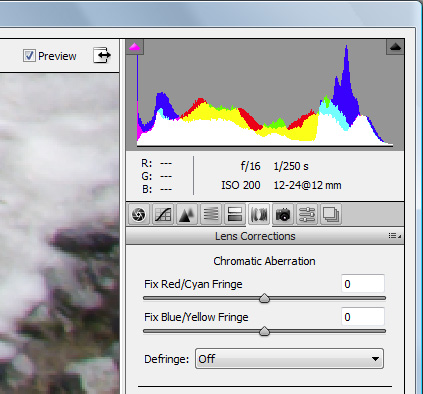
The strategy is to move the slider in the direction of the color of the CA – red in the this case. To demonstrate the capacity of the software to correct the CA, we’ll move the slider way the wrong direction to +50, then past the proper correction too far towards red to -80, before setting it to the best correction at -28.
Original image: Fix Red/Cyan Fringe slider at 0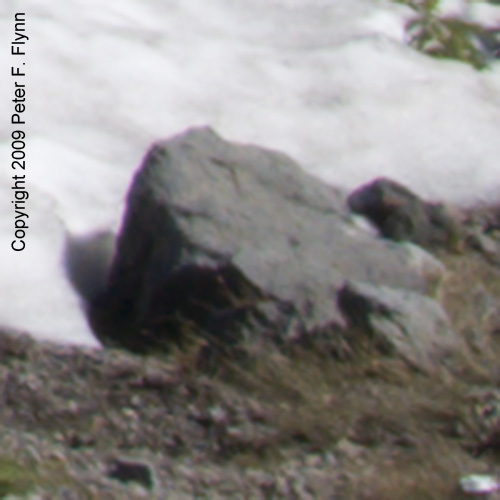
Fix Red/Cyan Fringe slider at +50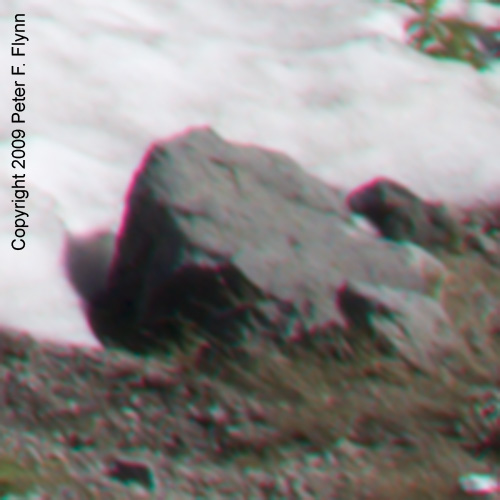
Fix Red/Cyan Fringe slider at -80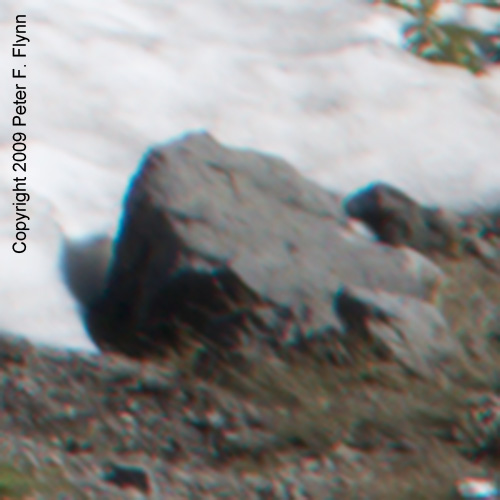
Fix Red/Cyan Fringe slider at -28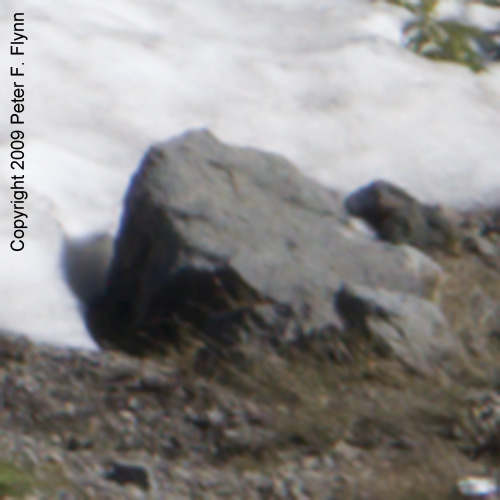
Notice how the sharpness improves when the CA is properly minimized. Yes, I know the crops look a little blurry – you’ll have to wait for the sharpening piece, which comes a bit later on.
Tags: ACR5.2, CA, camera raw, chromatic aberration, Crater Lake, CS4, Oregon Cascades, raw, workflow
Excellent demonstration! Well done. I look forward to the next steps in the path.
Hi B,
Thanks for the message. First we’ll look at color corrections and then contrast – all by the end of next week. Will be fun!
Cheers,
P.
Hello!
Very Interesting post! Thank you for such interesting resource!
PS: Sorry for my bad english, I’v just started to learn this language 😉
See you!
Your, Raiul Baztepo
Nice post and great example. Chromatic aberration can be a pain for sure and knowing how to prevent it or clean it up is key. I just put up another example of chromatic aberration http://blogs.adamparkerphotography.com/blog/Chromatic-Aberration/57/ Hope it will help your readers better detect chromatic aberration in their shots and entice them to fix it.
Thanks for the tutorial, look forward more.
Hi Adam,
Thank you for your message. Yes, CA is one of those insidious little things that you might not catch until your have a largish print made up – afterward of course, you will never miss it! Congrats on your excellent portfolios.
Cheers,
P.