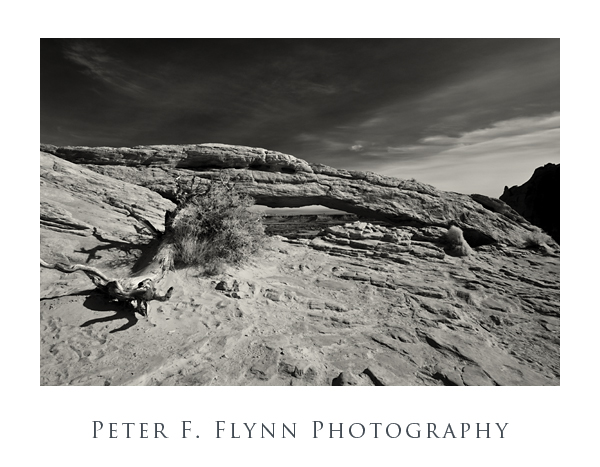
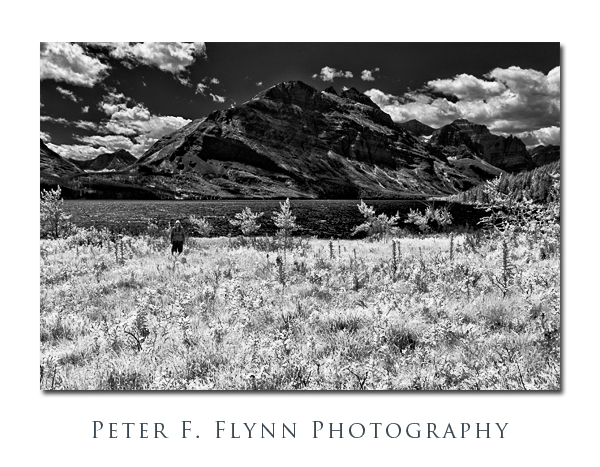
 It’s a long way from anywhere to Glacier National Park. From Salt Lake City to Apgar, MT, it is about 650 miles, 11 hours travel time. It’s about the same story to go from Portland to Apgar. The distance is a bit shorter from Seattle to Apgar, about 550 miles, which can be done in about 9 hours. Denver to Apgar is 970 miles, which will take about 15 hours. Like I said, a long way from anywhere. The good news is (obviously) that the long distances from large metro areas keeps the number of visitors down, but make no mistake, it can get remarkably crowded at times.
Naturally, once you get to the Park, you want to maximize the experience. For the photographer-expeditionary, this means getting up at dawn and not quitting until after the sunset. For many though, there is a big gap from about 11am until about 4 or 5 in the afternoon. Some (slackers) use this time for siesta, others use the time to get into position for the afteroon or sunset. In my view the very best way to spend the noonish hours is to keep right on shooting.
One way to extend time behind the lens will be to to push conventional photography beyond conventional (golden hour) time limits. I’ve written a bit about the myth of the golden hour from time to time. If you are willing to invest the time it takes to properly process such images, this can be an effective approach. Under the right conidtions and with the proper gear, a most excellent option is to shoot in the near infrared (near-IR). The best way, and in my opinion the only reasonable way to shoot the near-IR is to get hold of a DSLR camera in which has the anti-aliasing filter replaced by a near-IR cutoff filter. There are several groups that will do this – I have used and can recommend LifePixel out of Mukilteo, WA. Folks seem to like the mods done by LDP LLC aka MaxMax as well. Anyway, I had a Nikon D200 modified to the Life-Pixel Deep BW IR option, which is equivalent in the old-tongue to a Wratten 830nm filter set up. The Deep BW IR provides the richest, deepest tones available in an IR modification.
Quality near-IR capture requires the presence of direct sunlight overhead. Clouds on the horizon add essential drama to these shots, and without clouds the sky goes nearly to black. Of course given the right sort of foreground elements, e.g., foliage, this can work well. If clouds block the sun overhead however, the resulting image will lack the contrast that one is generally hoping for in the capture.
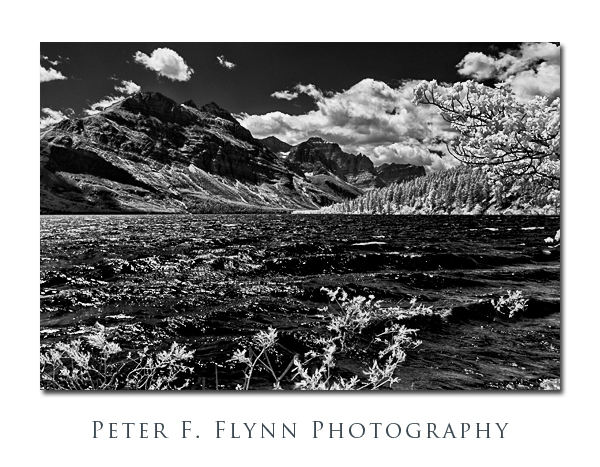
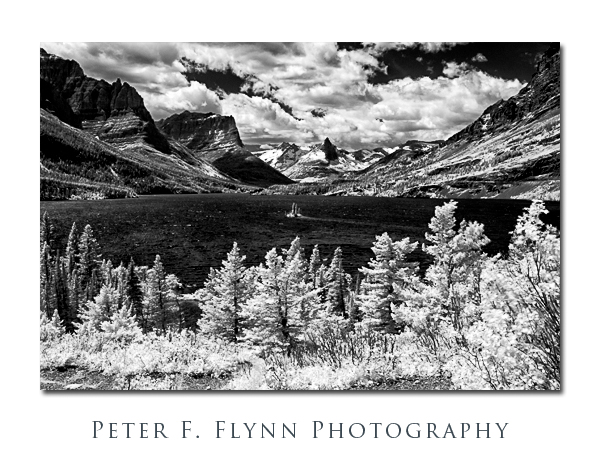
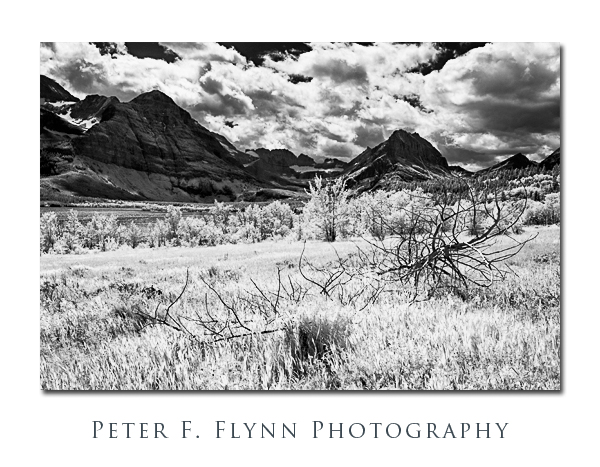
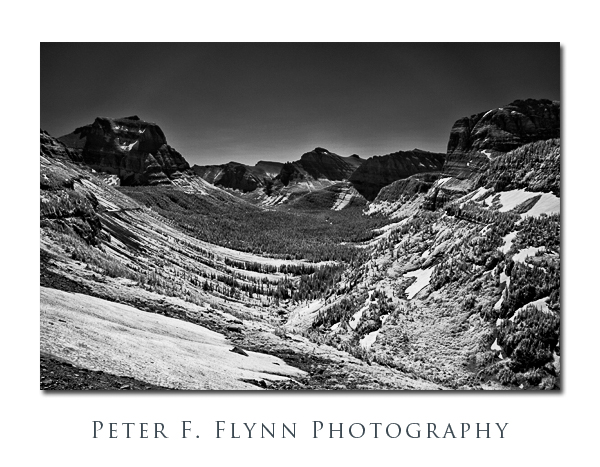
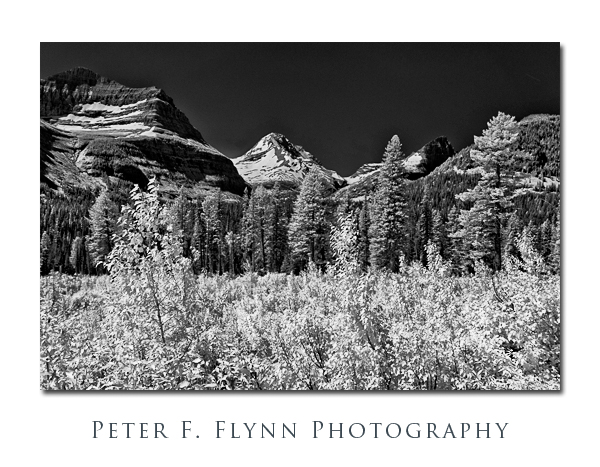
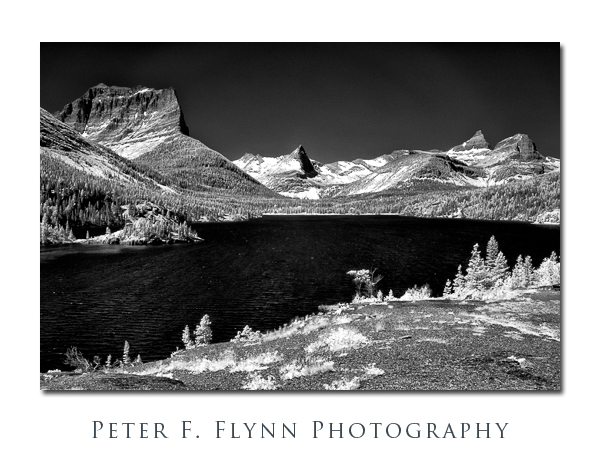
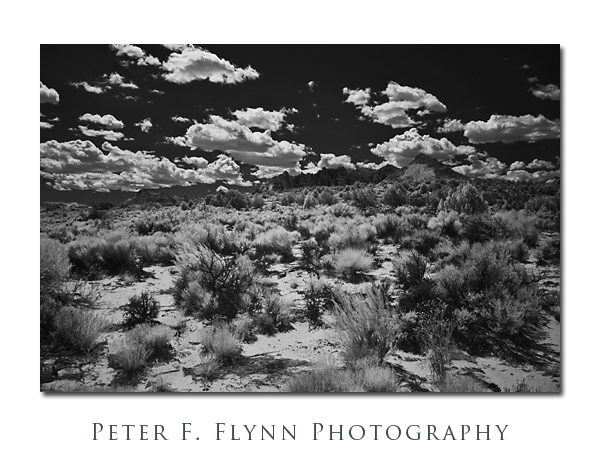
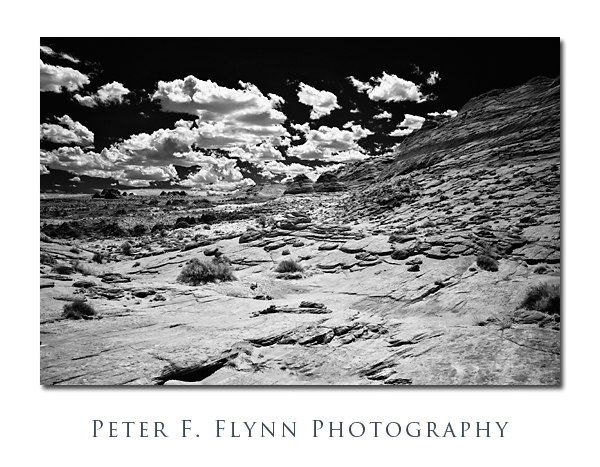
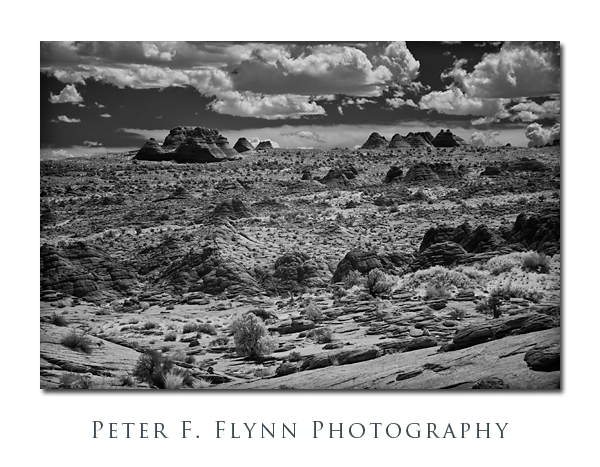
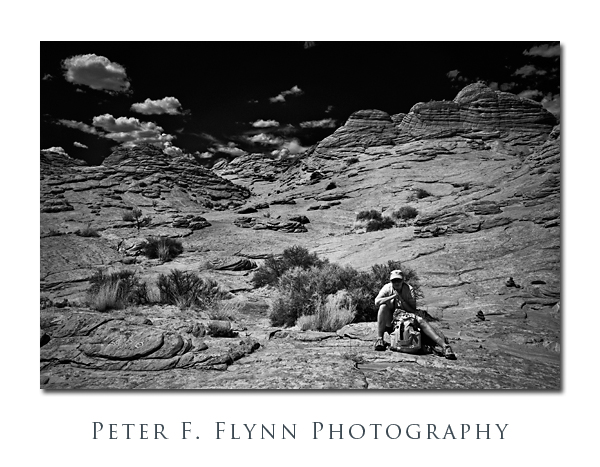
The first four images in this entry were recorded on at around 14:00 MDT on July 23, 2011 using the Nikon D200IR and the AF-S DX NIKKOR 16-85mm f/3.5-5.6G ED VR at f/11 or f/16. I generally like to shoot a bit closer to noon to get the most intense contrast, but things seemed to work out well here.
Although light is metered through the lens in an IR-modified camera, the meter is measuring the visible light intensity, whereas with the 830nm cutoff we are looking at something else. Fortunately, the intensity of the near-IR light is proportional to the visible, and simply requires that you dial extra exposure to compensate (about +3.0 EV in my case). In practice I bracket the exposure +/- 1.0 EV in 1/3 f-stop increments.
The subject of the first three images was Saint Mary Lake, while the forth image (above) was made near Lake Sherburne.
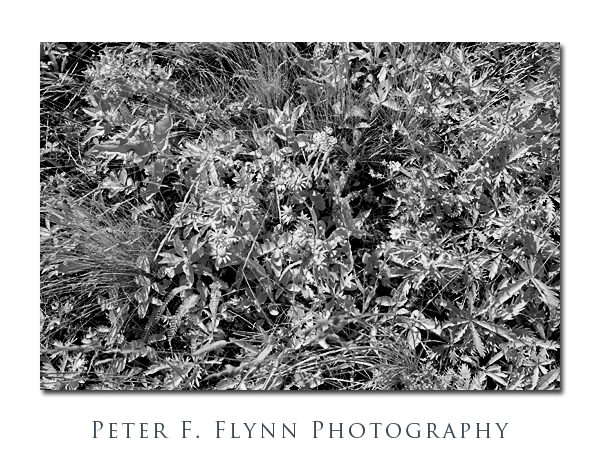
The images above as well as the following two images were made at about 11:00 MDT on July 24, 2011, near Logan Pass. No clouds, but plenty of dramatic contrast.
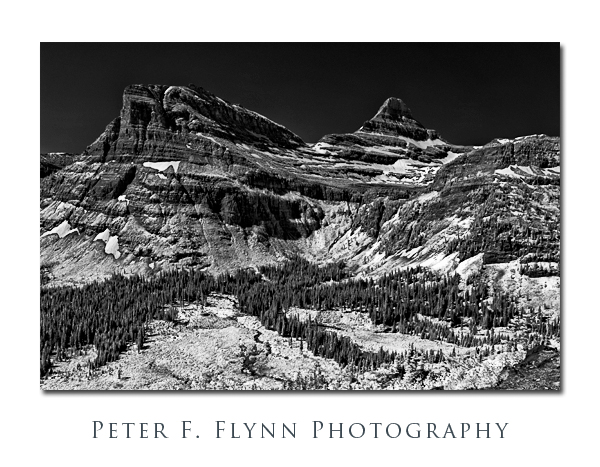
The image below was recorded at noon on July 24, 2011, at Sun Point near the western edge of Saint Mary Lake.
The final two images were recorded along the shore of Lake Sherburne at around 13:30 MDT.
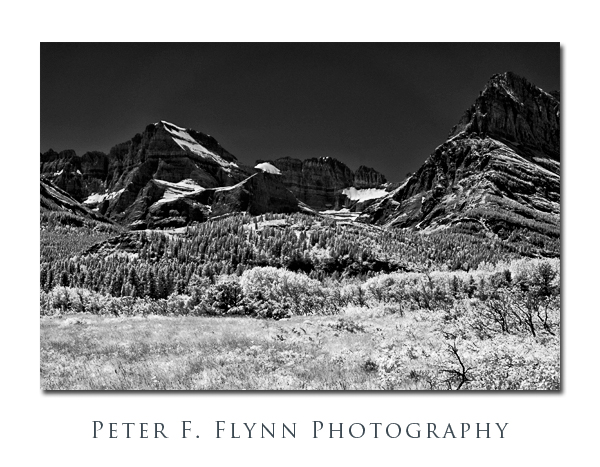
Images were converted using ACR version 6.5 or 6.6 to set WB and exposure. The bulk of the processing was conducted using Nik Silver Efex Pro 2, based on a variation of the High Structure – Harsh preset. Additional processing was applied using Color Efex Pro 4. Capture, creative, and output sharpening was applied using Photokit Sharpener 2.0
Did you catch the HP in the first image? Yep, look again.
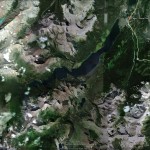
A Google Earth image of Saint Mary Lake, with Sun Point just about in the center of the viewport is shown below:
Copyright 2012 Peter F. Flynn. No usage permitted without prior written consent. All rights reserved.
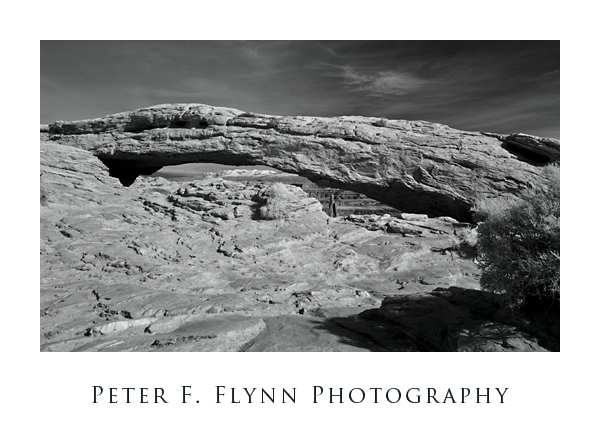 The IR image above, looking west through the arch to the La Sal Mountains and Shafer Basin was recorded on February 15, 2009 at around 15:00 MST using the Nikon D200IR (see the March 6, 2009 entry for details) and the AF-S DX Zoom NIKKOR 12-24mm f/4 IF-ED lens at 18mm. Exposure was f/16 at 1/20s, ISO 100.
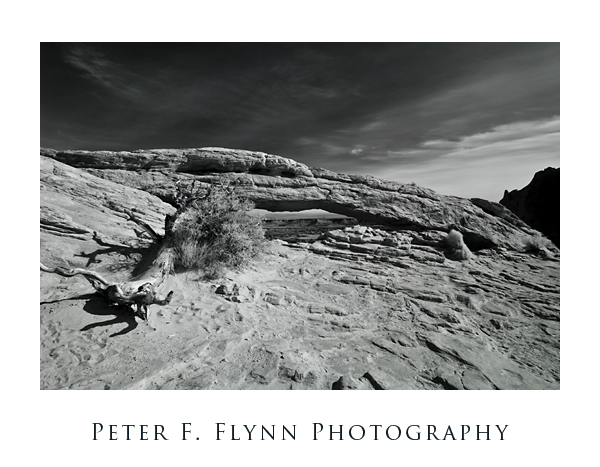 The image above; looking west-southwest, was recorded using the Nikon D200IR and the AF-S DX Zoom NIKKOR 12-24mm f/4 IF-ED lens at 12mm. Exposure was f/16 at 1/25s, ISO 100. The image below is identical the one shown above, apart from application of a coffee tone. Toning was applied using