Norris Geyser Basin is a large geothermal area that lies near the conjunction of park roads that head south to Madison, east to Canyon village, and north to Mammoth Hot Springs. Norris, as park denizens refer to it, is divided into three major areas by a trail system that depends largely on boardwalks: Porcelain Basin, Back Basin, and Back-of-the-Back Basin. Back Basin and Back-of-the Back Basin are collectively labelled just Back Basin on Park maps, but visitors are likely to appreciate that these two areas are quite easily distinguished by the distinct levels of effort required to explore them.
The most accessible, and in my view, the most rewarding area in Norris is Porcelain Basin. I will post an entry on Back Basin in the future, but this entry will focus exclusively on the quite easily manageable circumnavigation of Porcelain Basin. The area is located just north of the Norris Geyser Basin Museum, which itself is about 300 meters west of the parking area along a paved pathway.
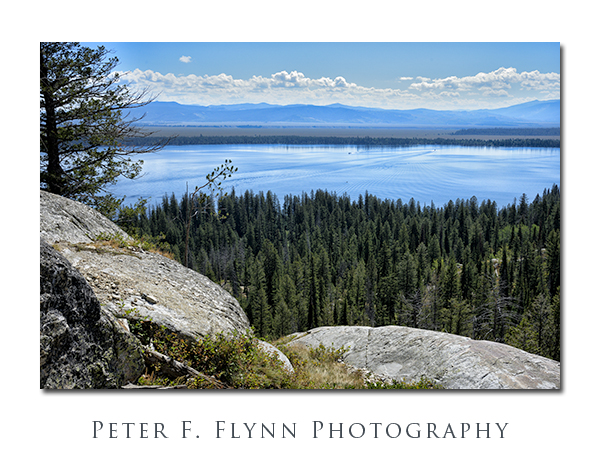
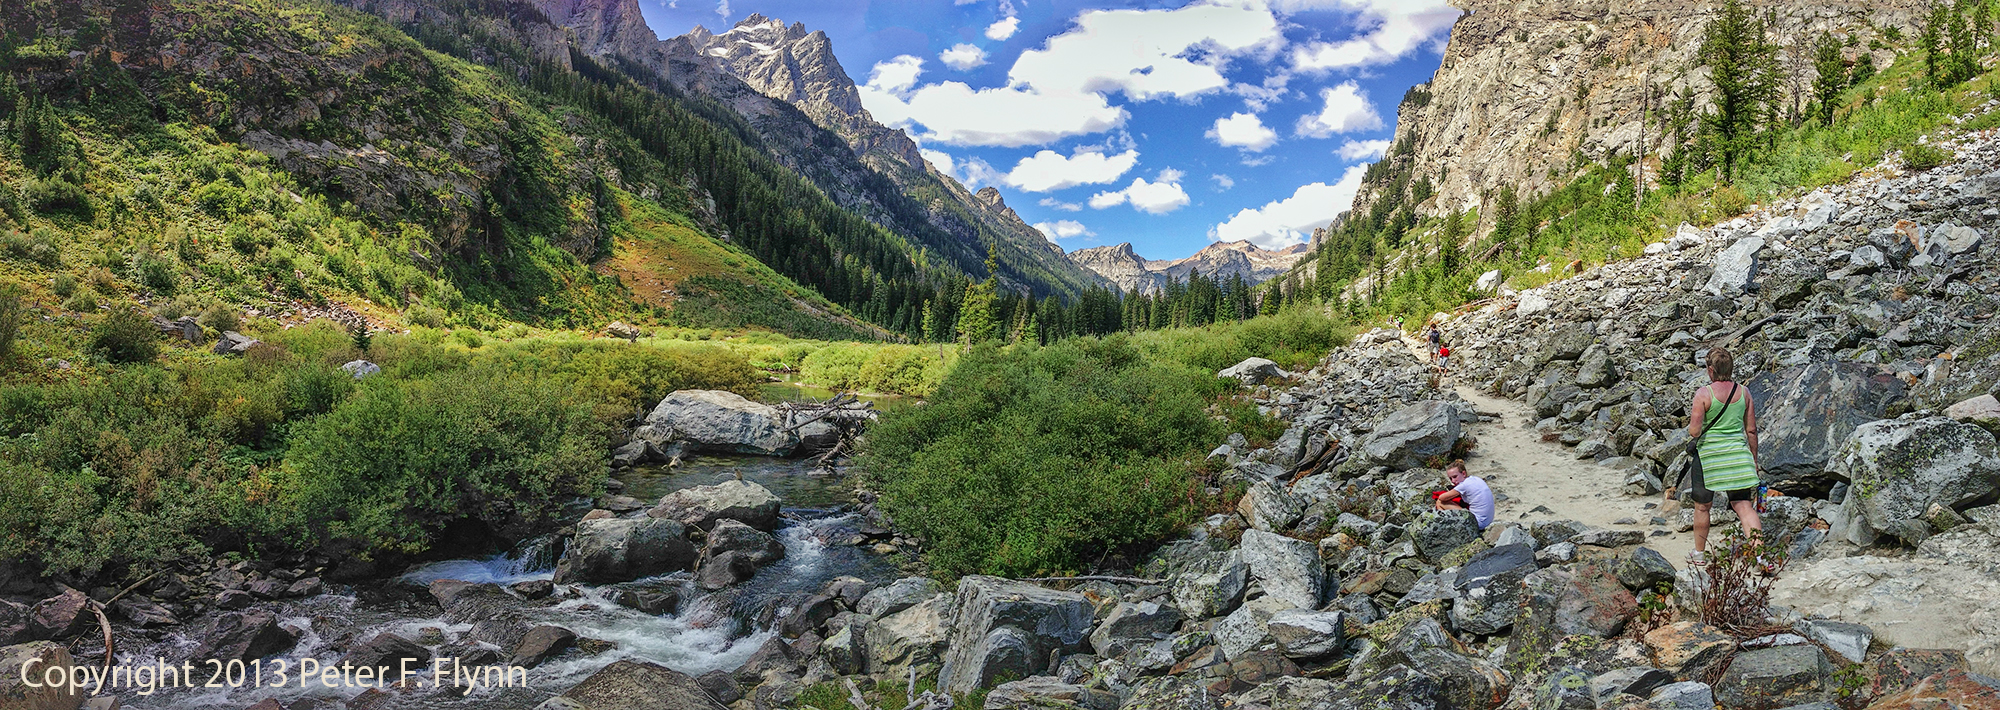
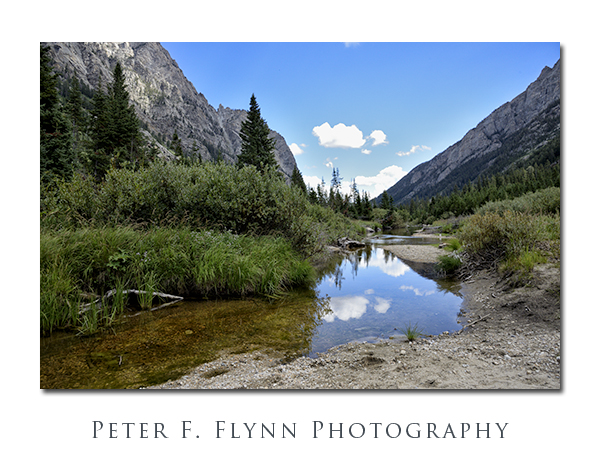
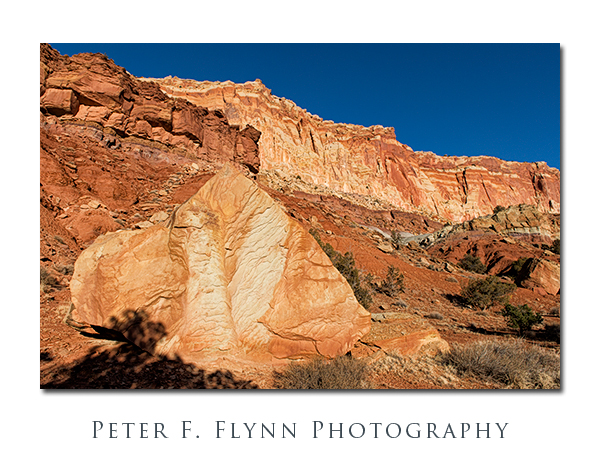
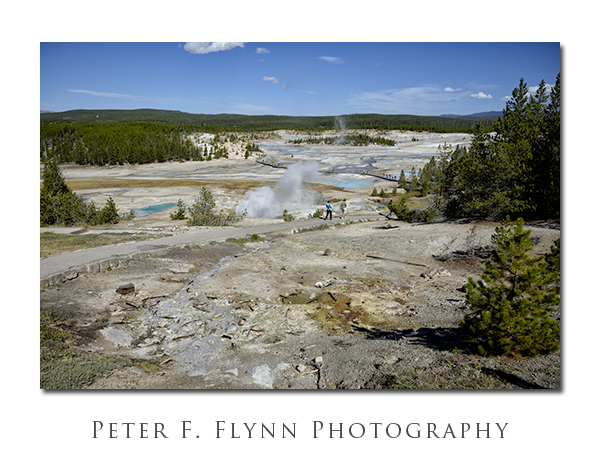
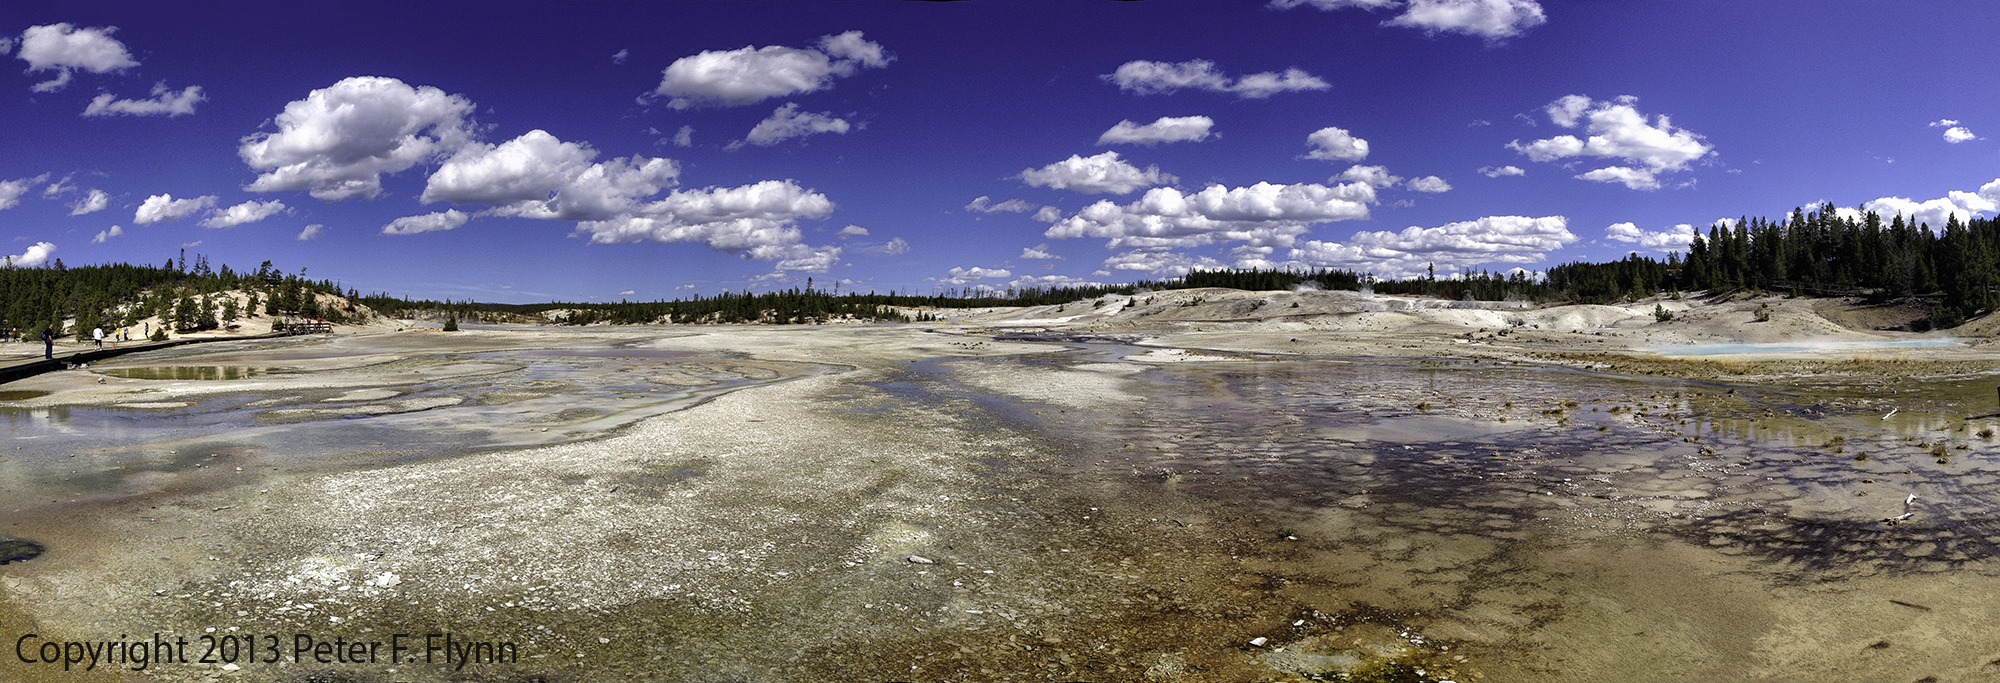
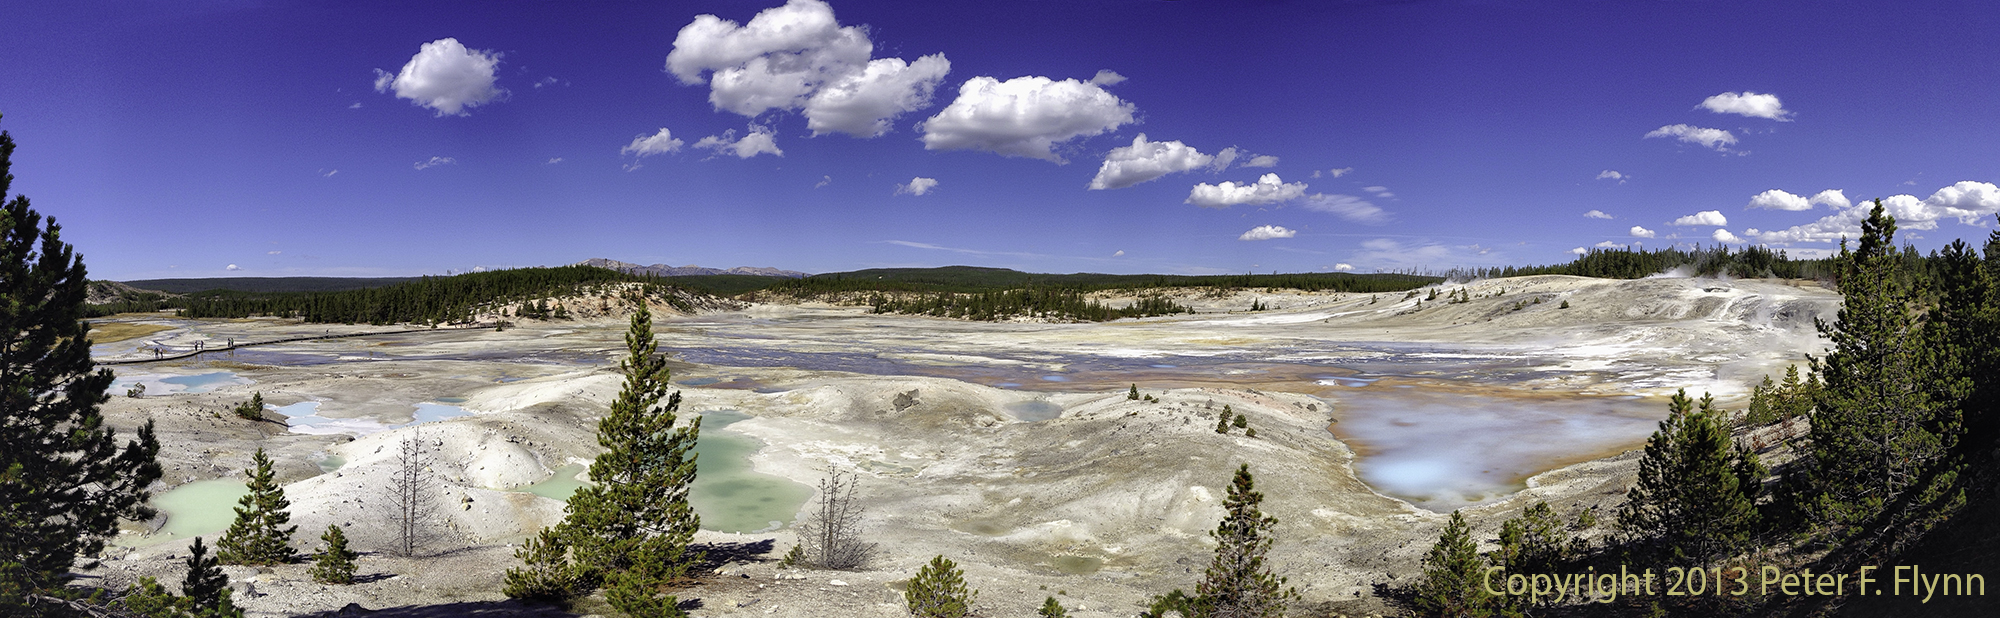
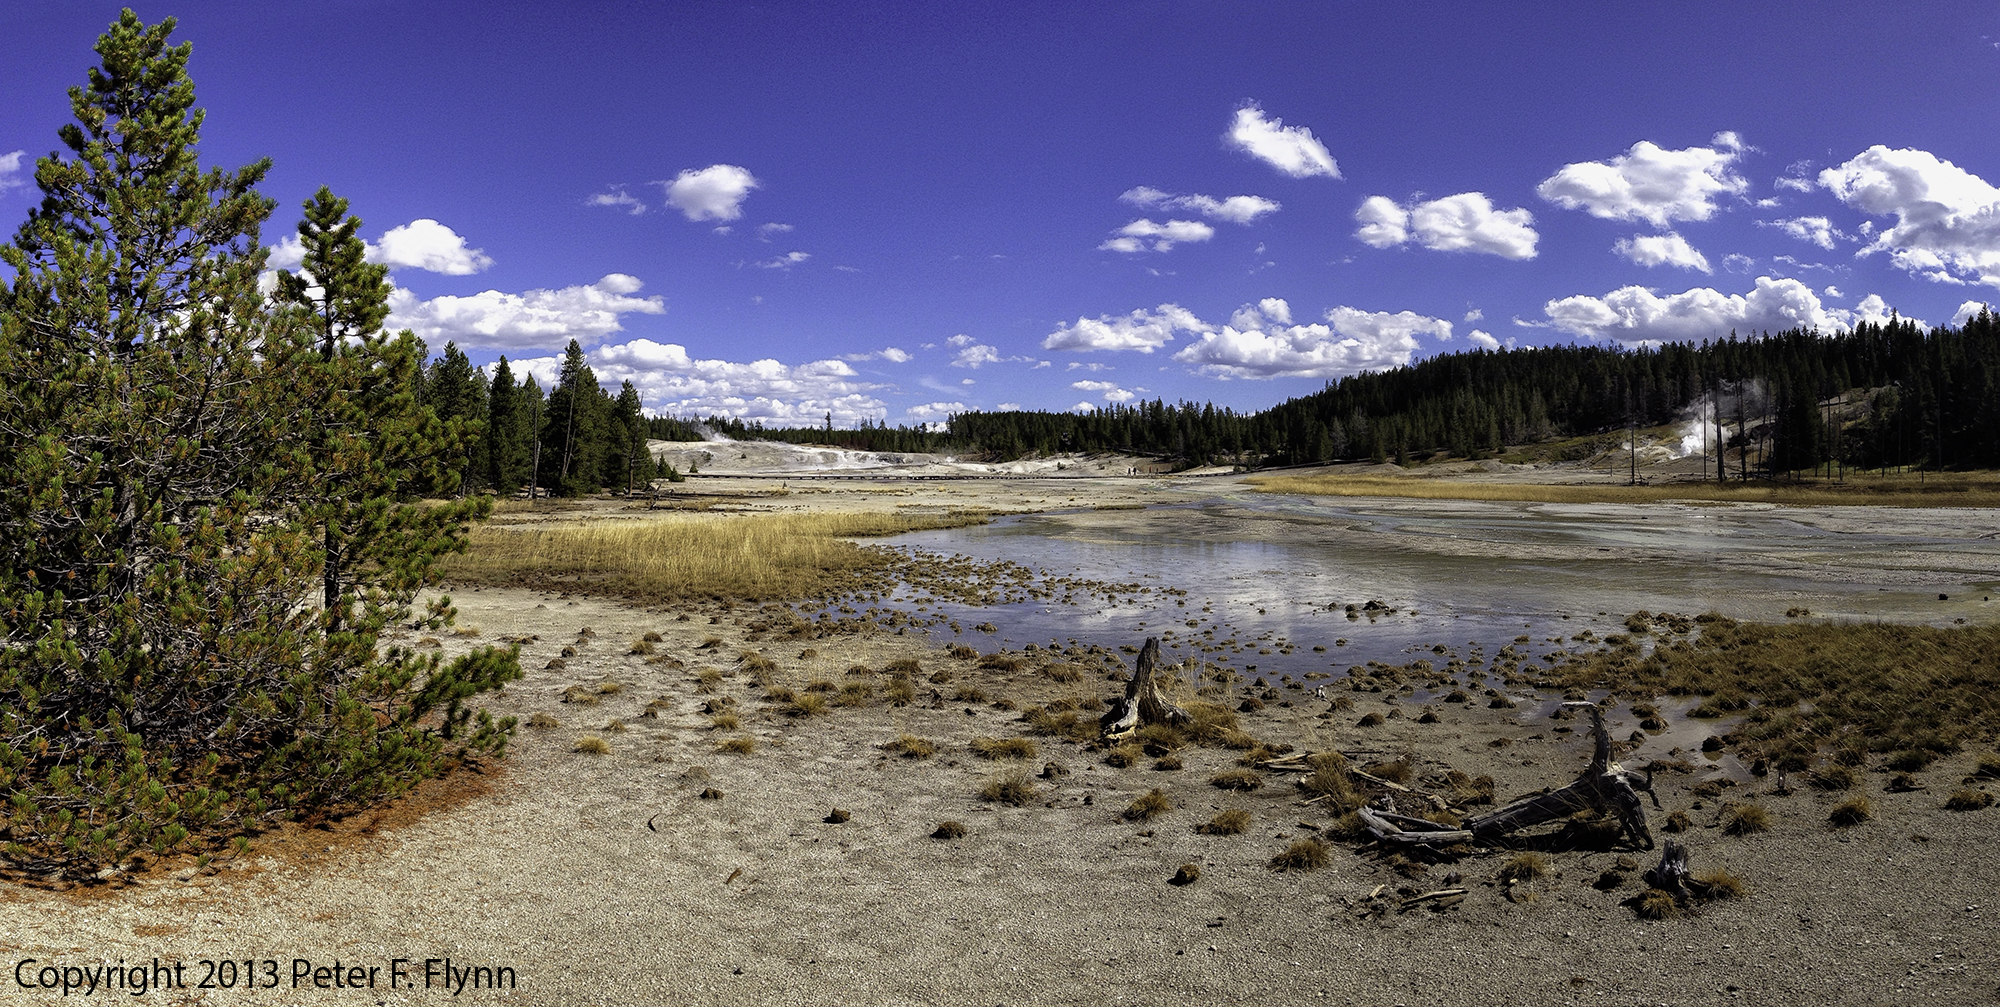
Click on pano thumbnail above to view larger image
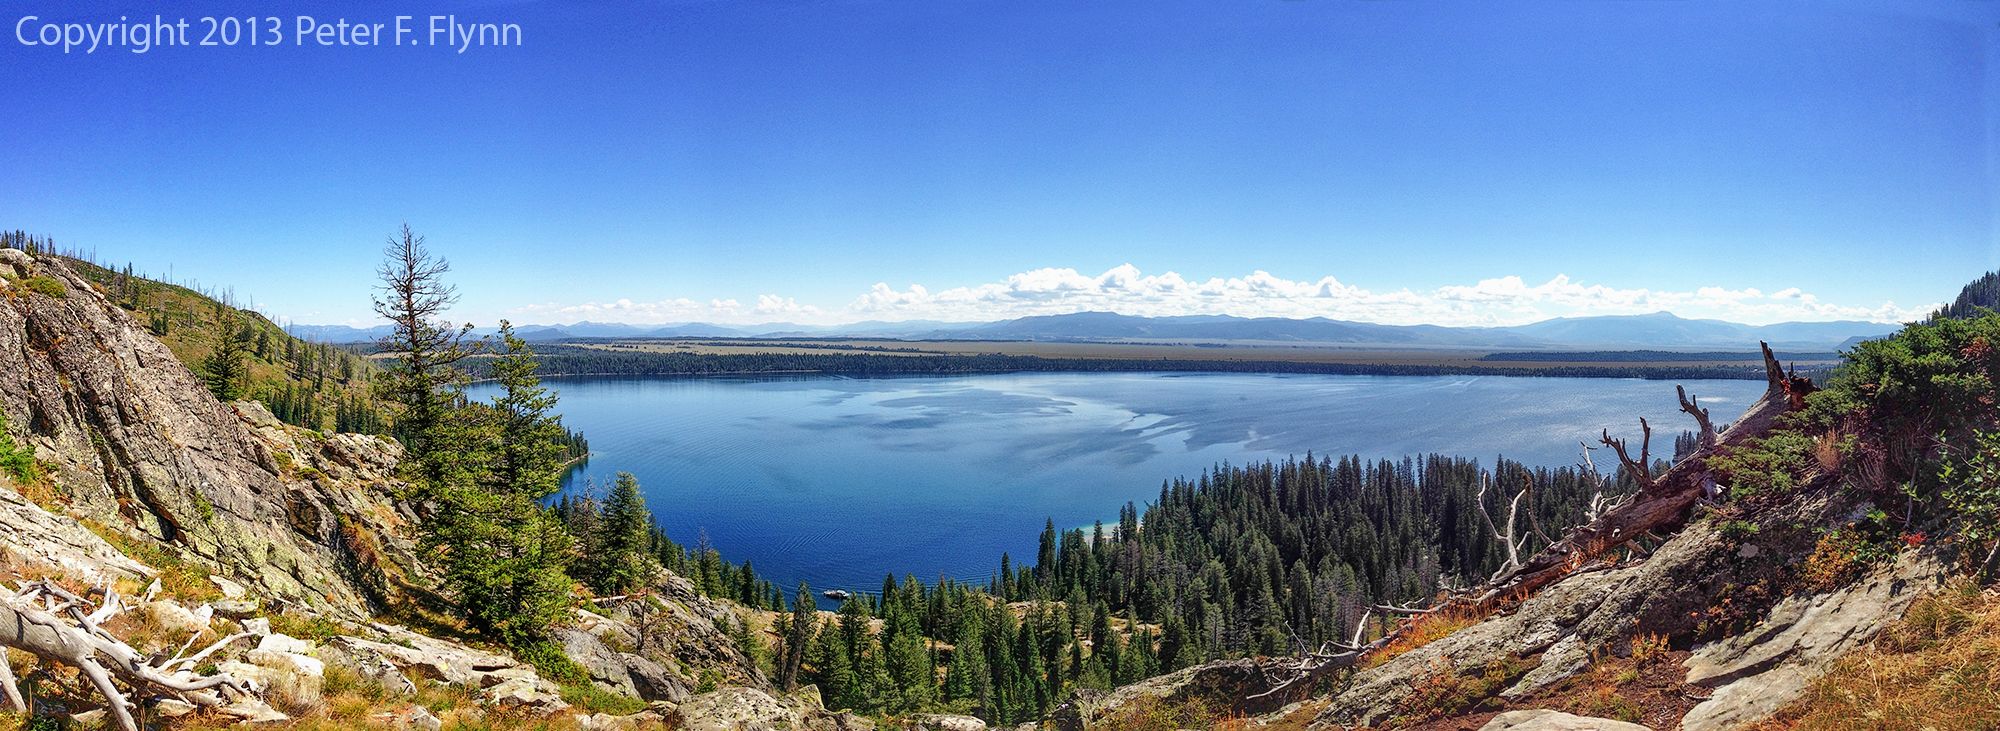
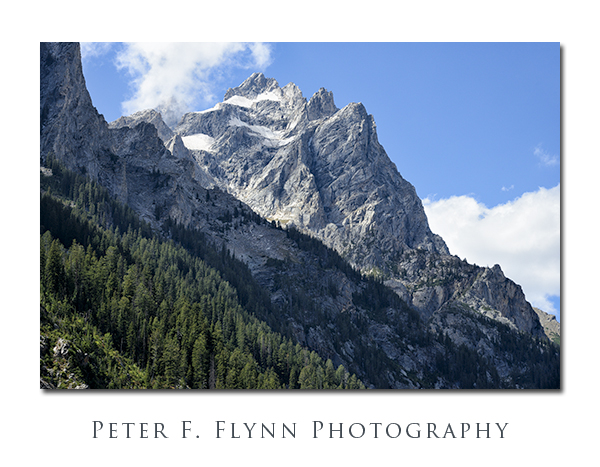
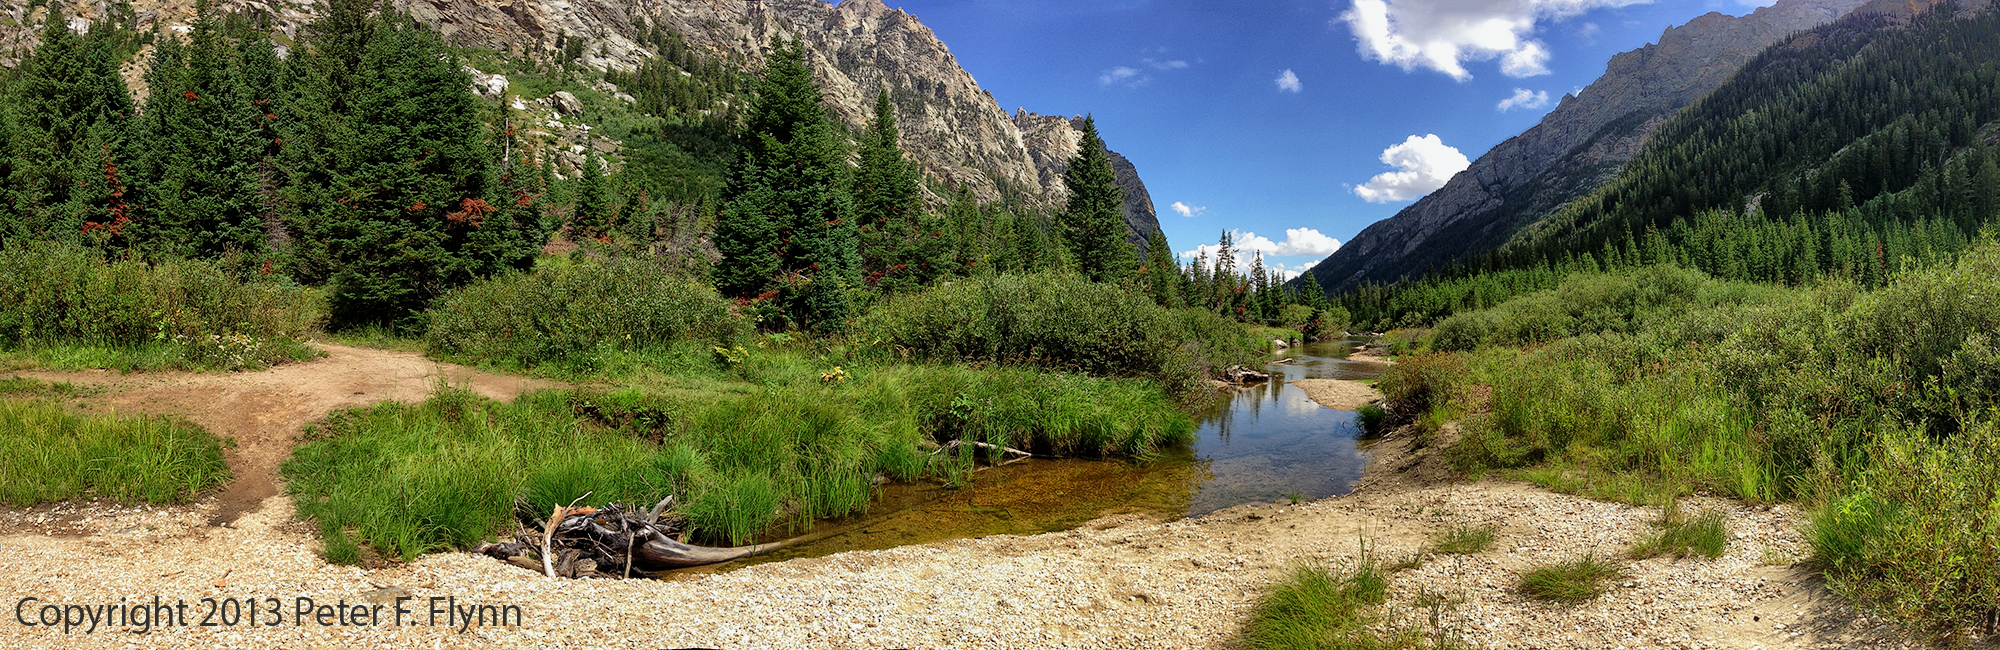
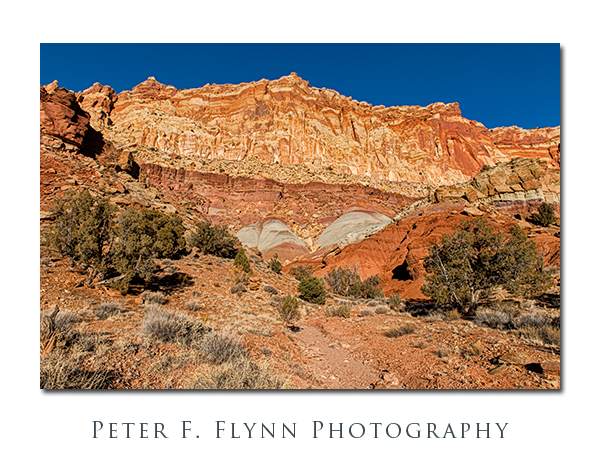
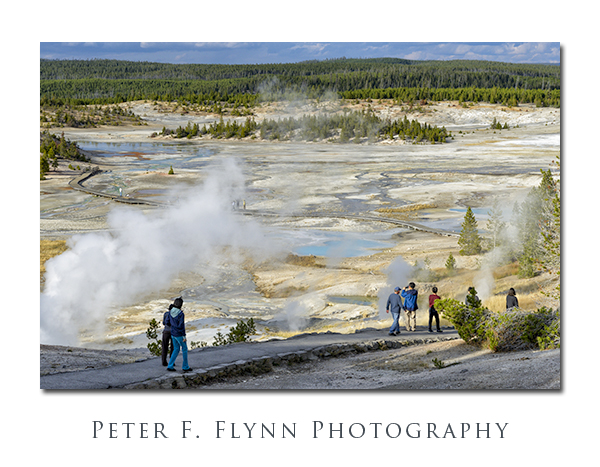
Click on pano thumbnail above to view larger image
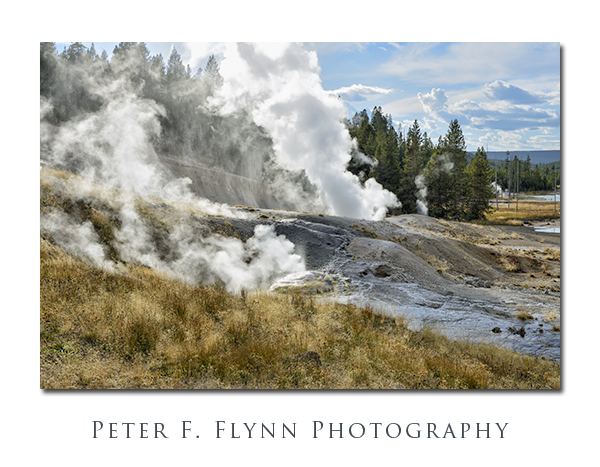
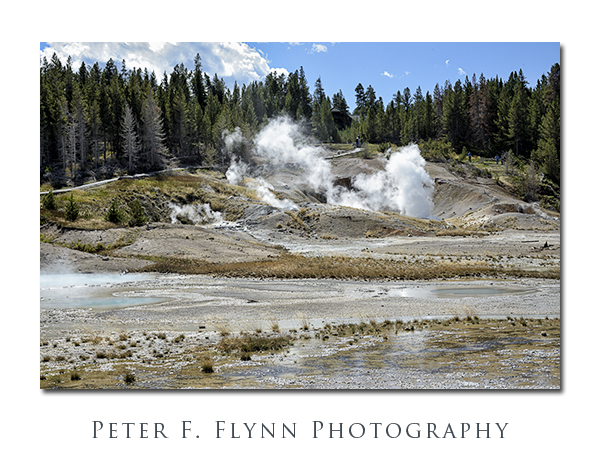
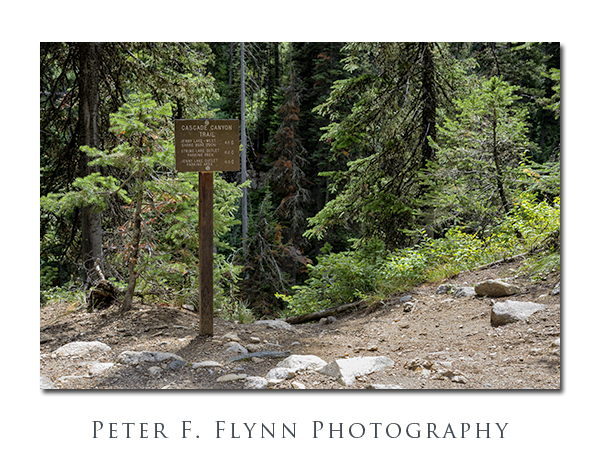
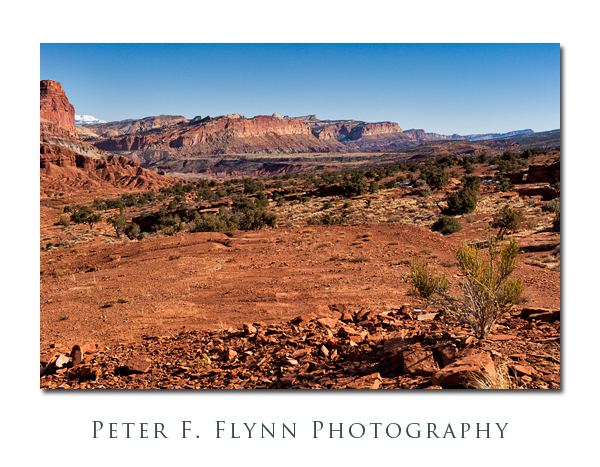
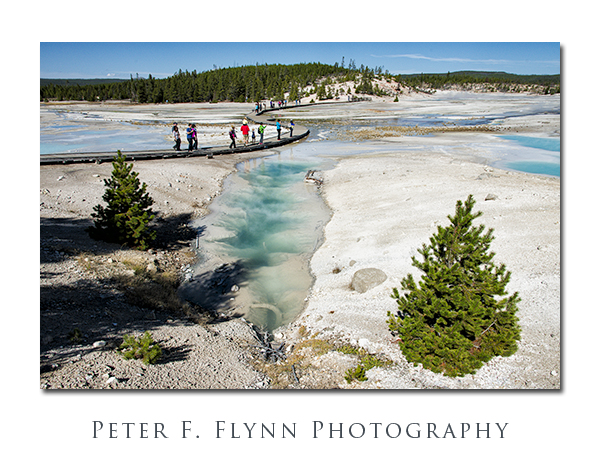
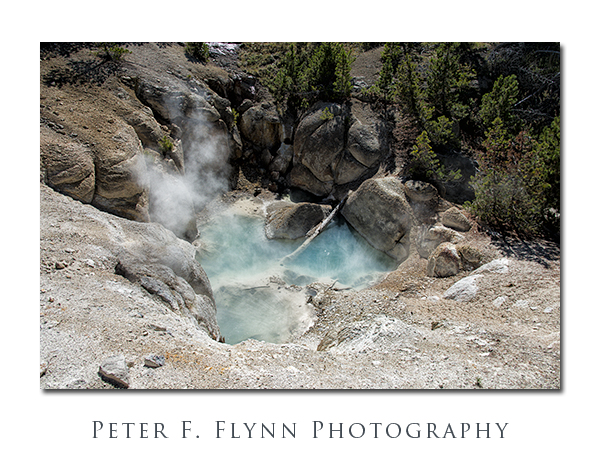
The two images above were recorded looking west from the paved trail that descends from the museum.
 A warning to photogs along the descending pathways… Prodigious quantities of steam are continuously produced by the Ledge Geyser. The winds within the basin are characteristically changeable, and one can find themselves enveloped within a steam cloud instantly, virtually any time morning or afternoon.
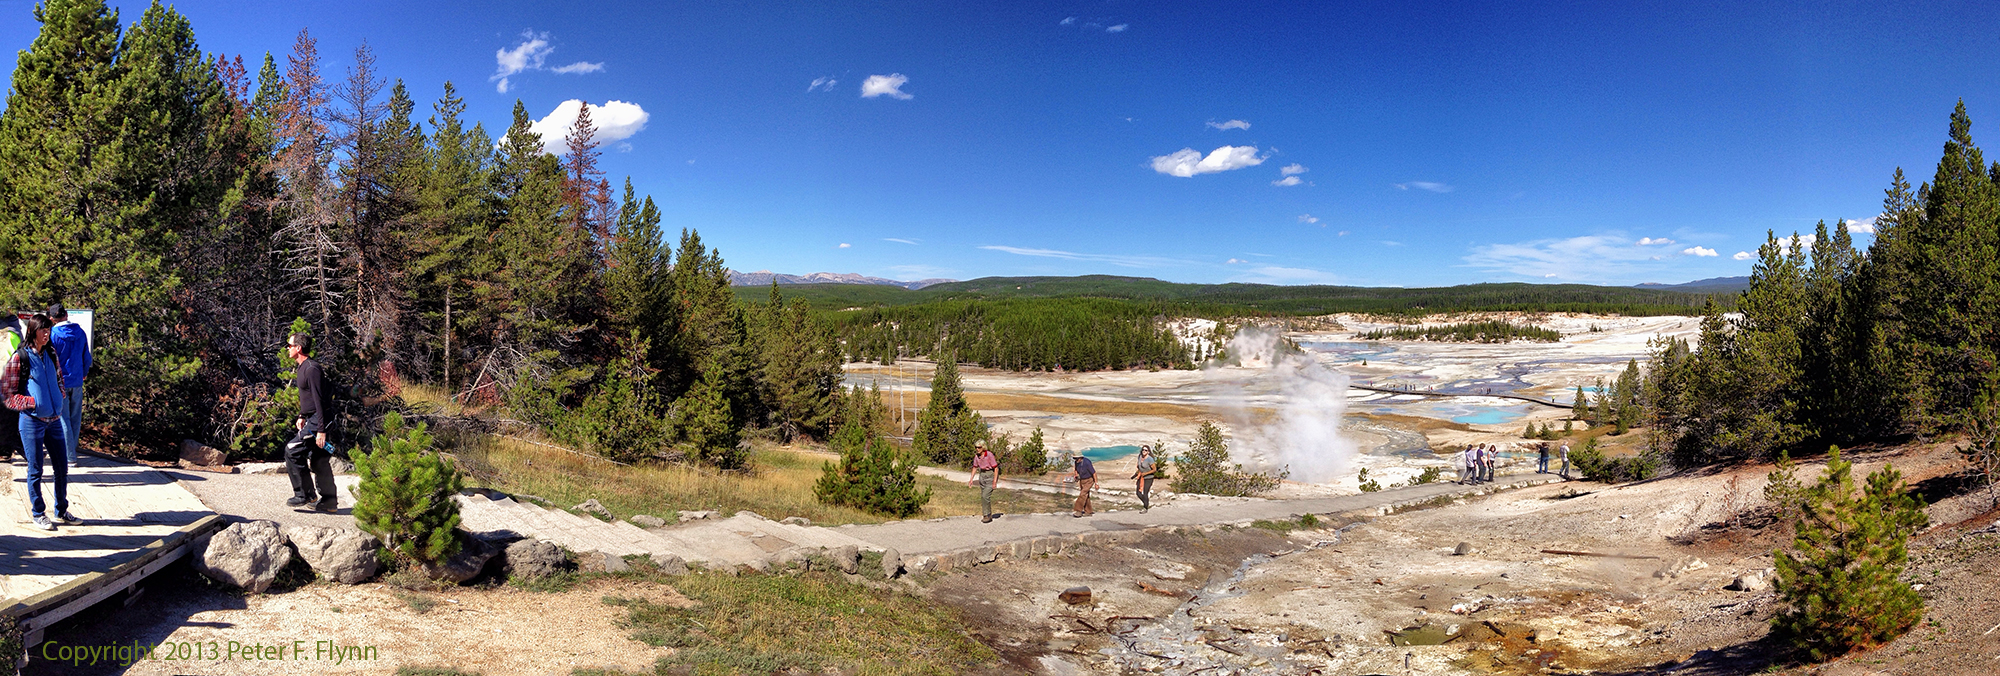
The route leads north down from the museum along a paved path that provides an excellent overview of Porcelain Basin. After descending perhaps 50 meters, hikers encounter a fork in the path. I suggest traveling along the east (right) leg, which places one on an anti-clockwise orientation around the basin. Much of the route around the basin consists of a boardwalk in very good condition. Guardrails provide an extra element of safety if you are totting children, but are also useful for leaning against while studying the terrain.
A bit of backtracking is required if you wish to visit all of the major geothermal features in the basin. I would highly recommend taking the extra time to visit Colloidal Pool, Hurricane Vent, and Porcelain Springs, all of which lie on an eastern spur of the main route.
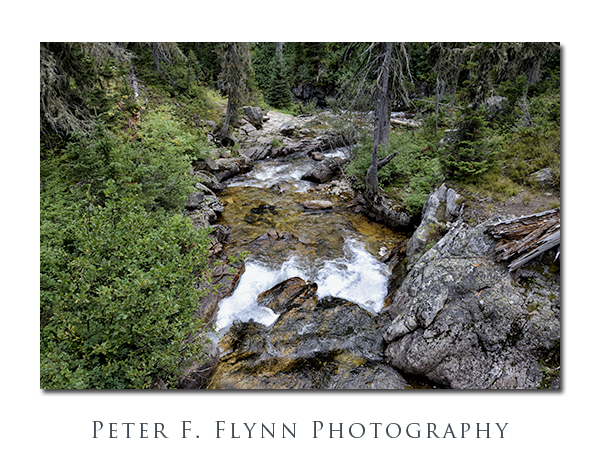
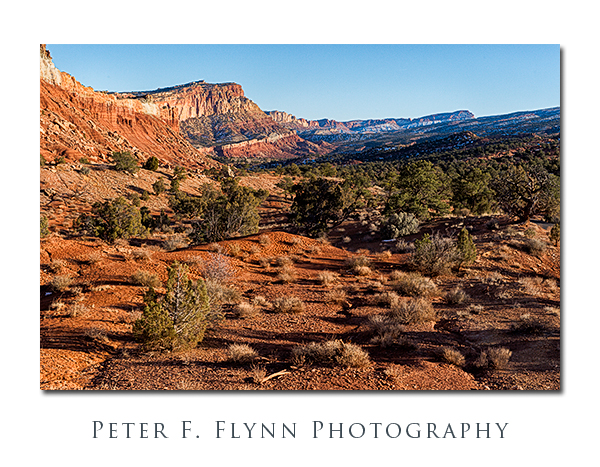
Click on pano thumbnail above to view larger image
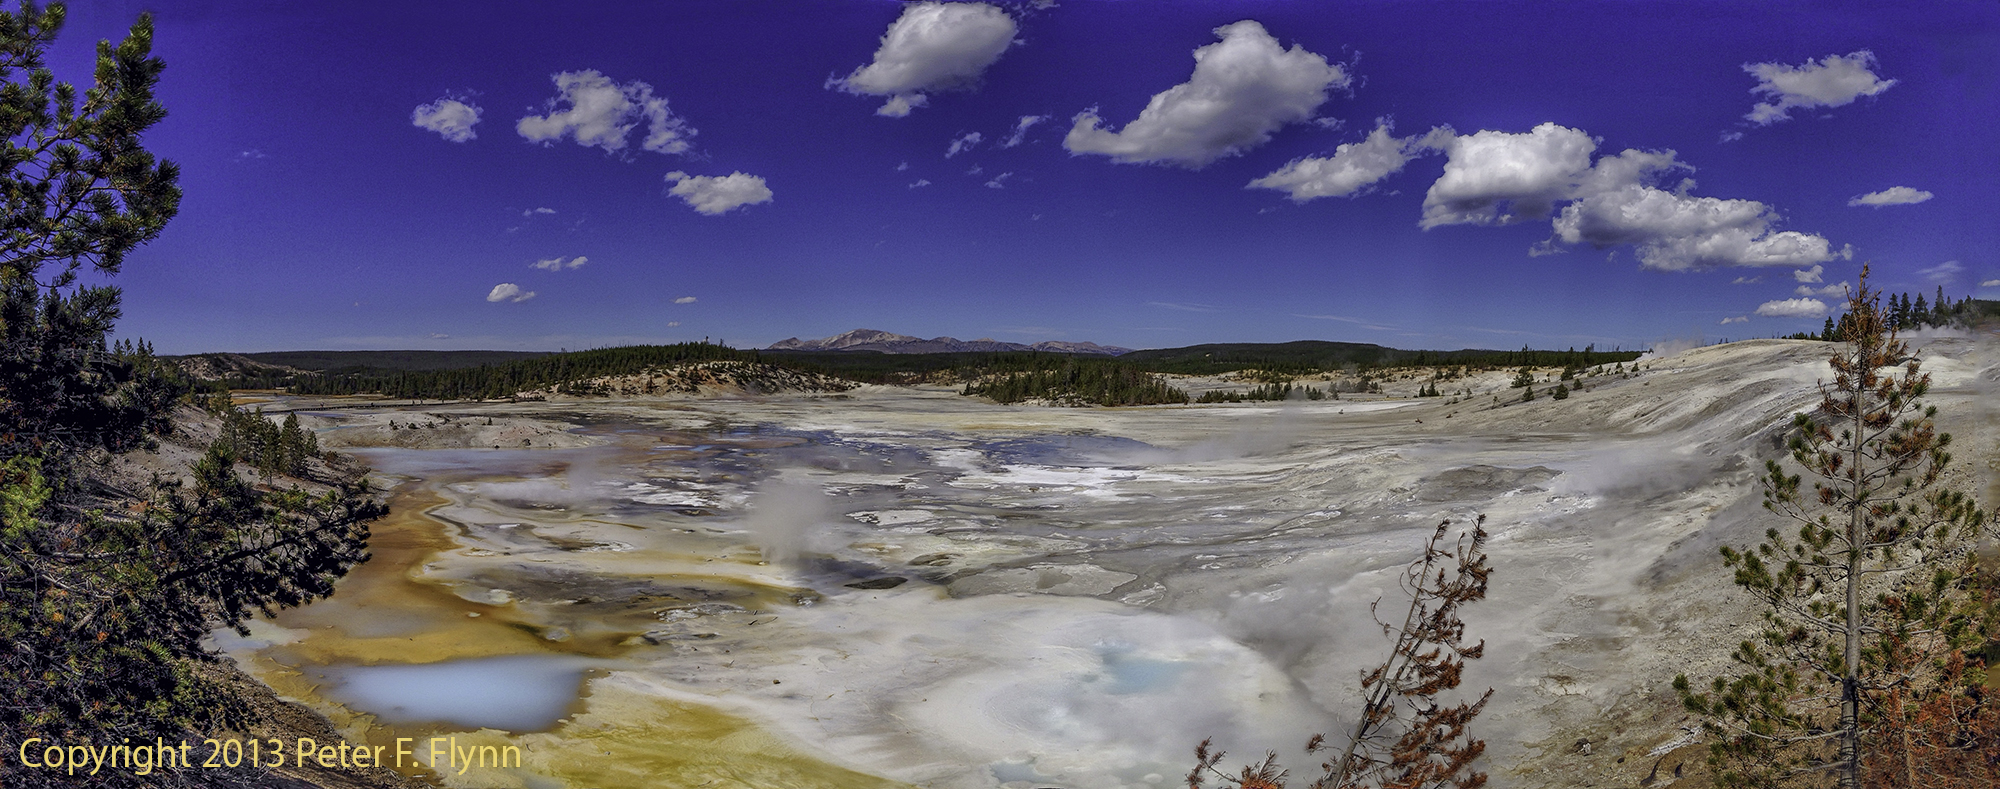
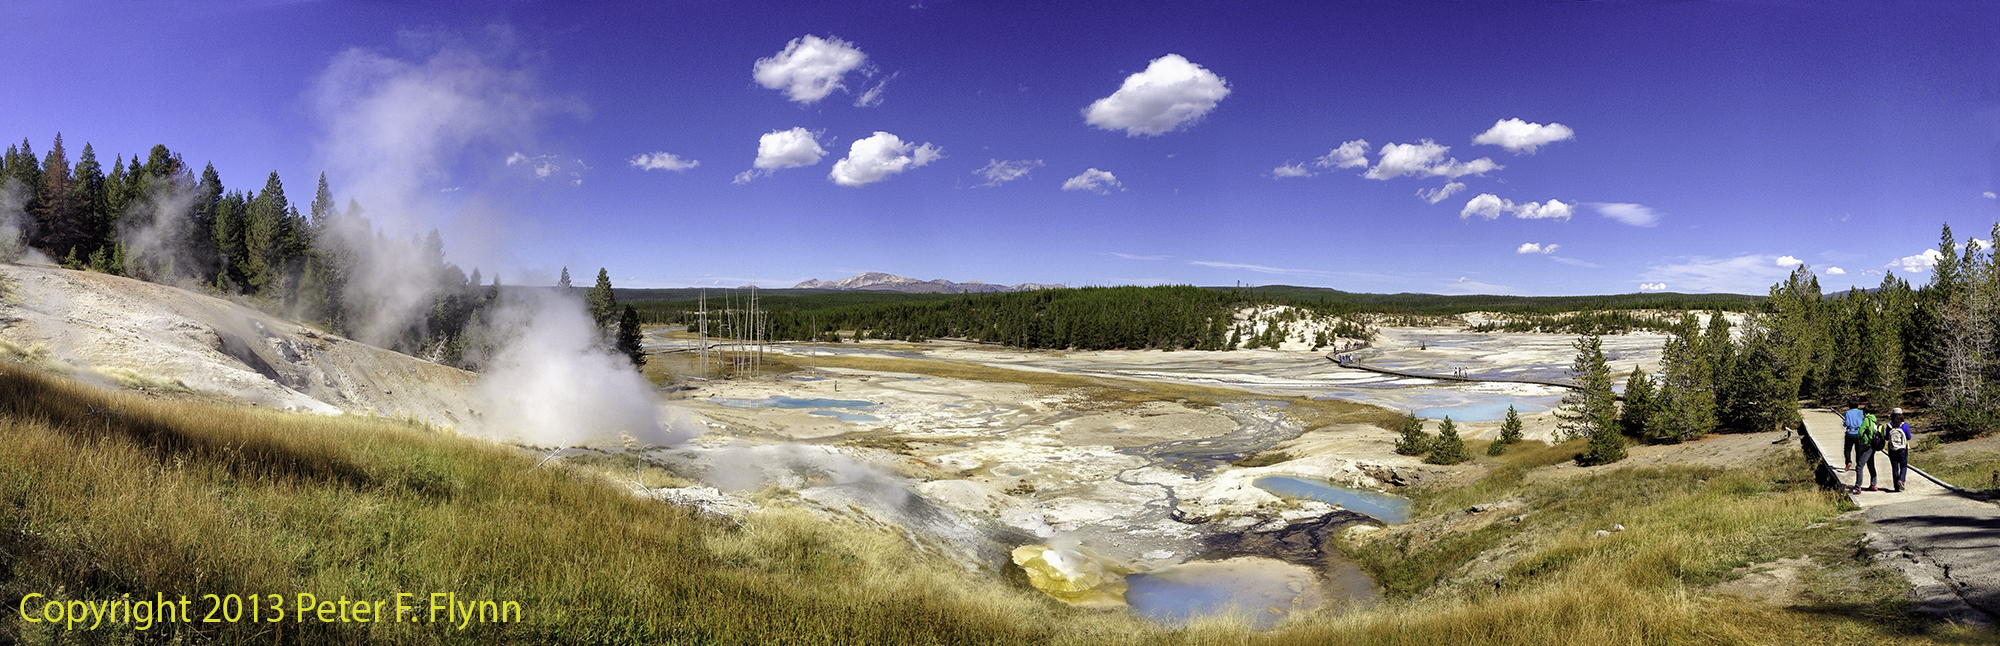
Click on pano thumbnail above to view larger image
Click on pano thumbnail above to view larger image
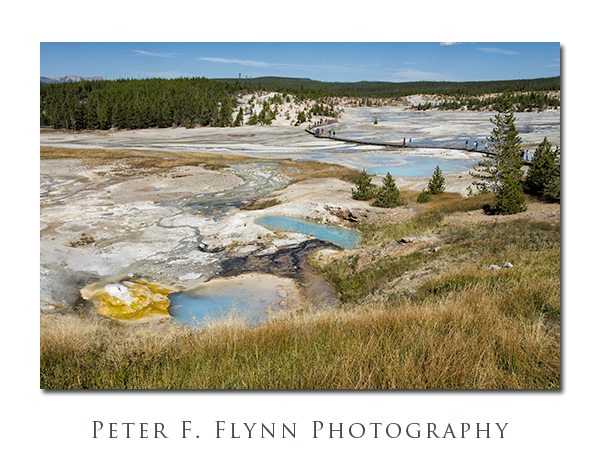
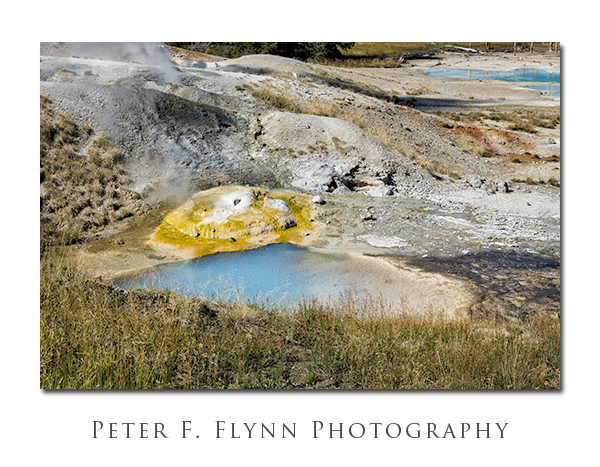
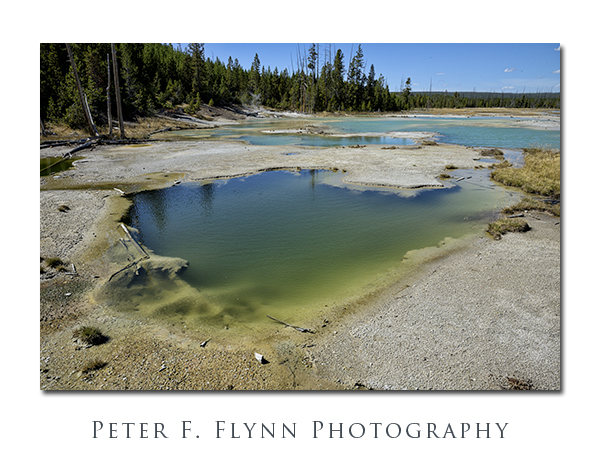
The name Porcelain Basin derives from the delicate white color of the mineral deposits in the area. The light color of the surface contrasts with the stronger colors produced by the other mineral deposits, and from the colorful algae and bacteria that exist in the relatively hostile conditions found here.
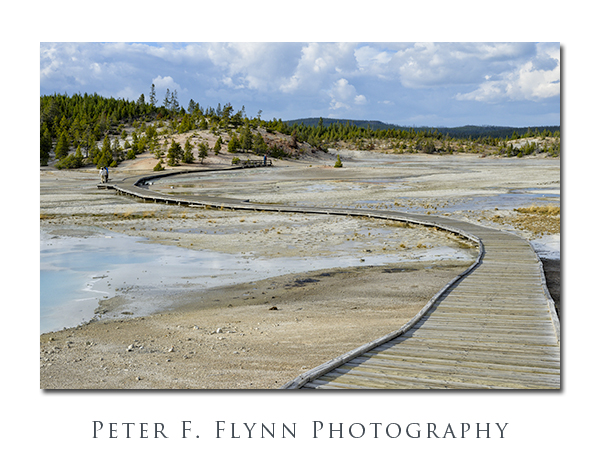
The main route leads north, bold and straight across Porcelain Basin. The obvious, low-impact, route would have followed the high ground (east) around the circumference of the basin. I can only guess that the current route was forged in early times, as environmental impact would appear to be maximized with the existing situation. I have no idea how the boardwalk maintenance can be executed… Regardless, the boardwalk is wide and stable.
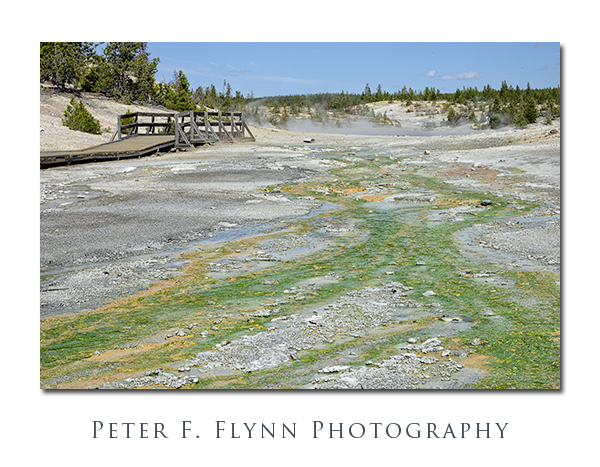
But in some parts of the basin the stream bed is green! Really green… This unlikely hue is due to the presence of Cyandium caldarium, an algae that exists only in environments with a pH between 0.5 and 5.0, and water temperatures between 35C and 55C. Yeah, think hot acid solution.
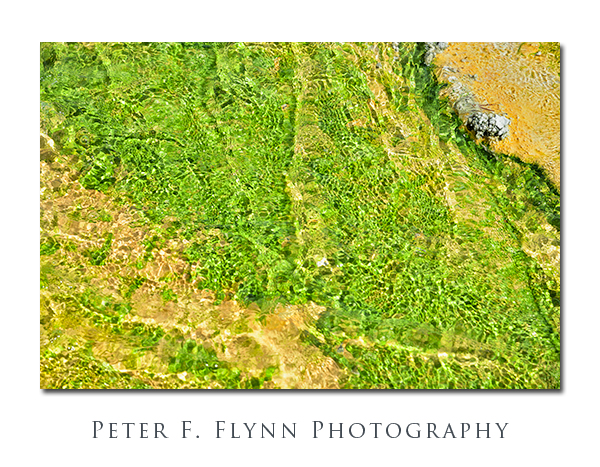

You are unprepared for the intensity of the color and contrast. We have scoured the earth for kooky natural phenomenon. This is as good as it gets, just stunningly beautiful.
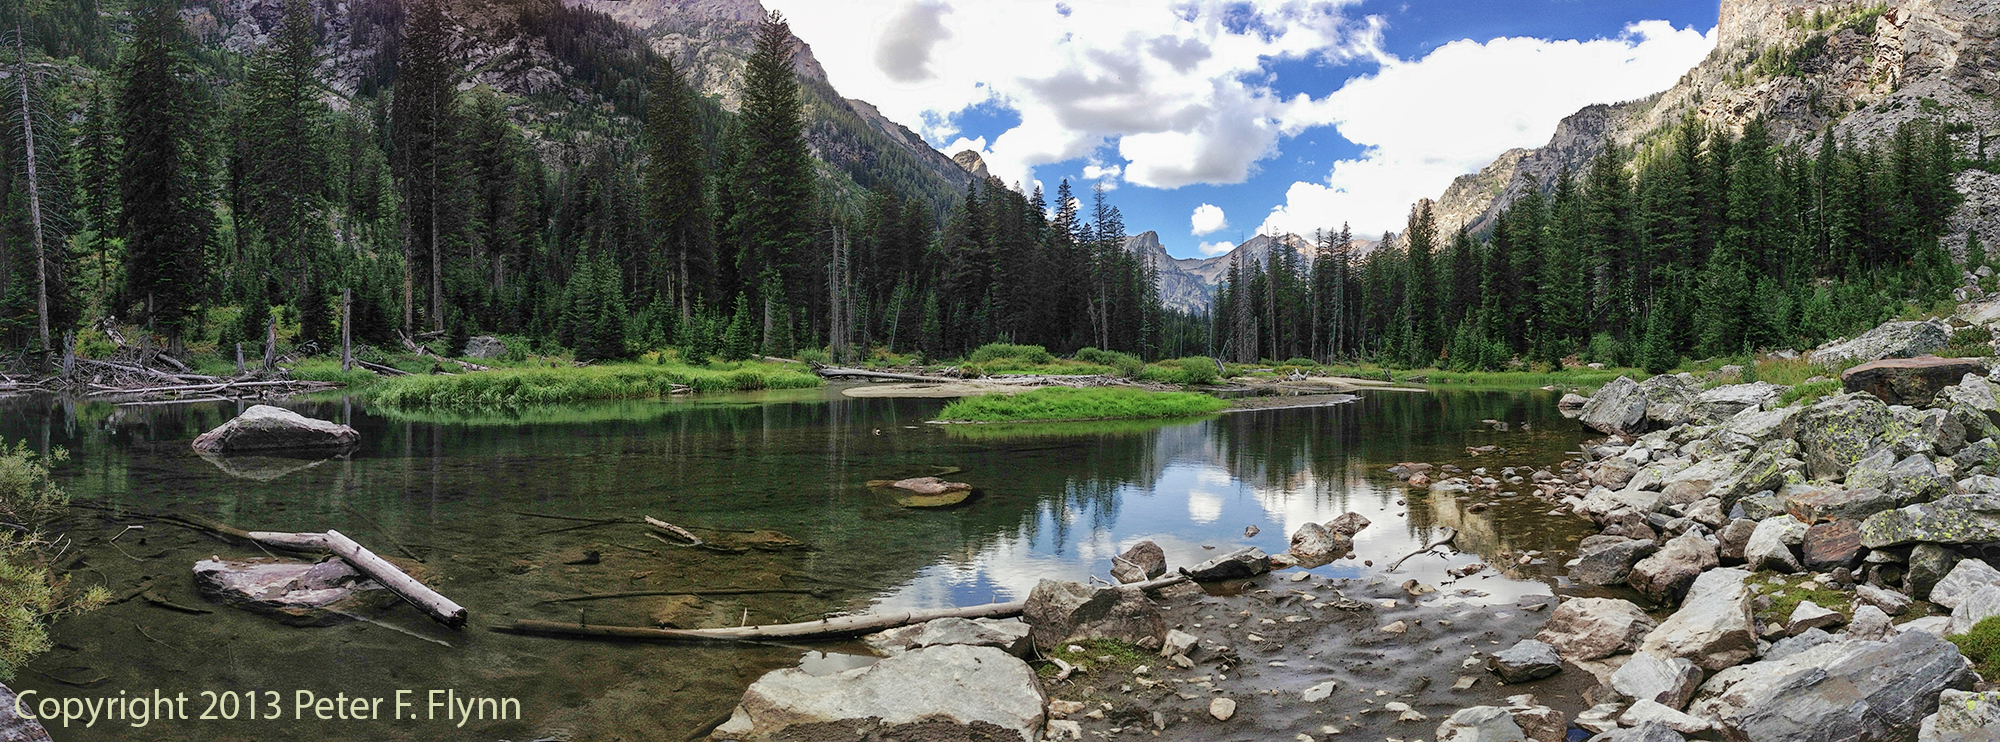
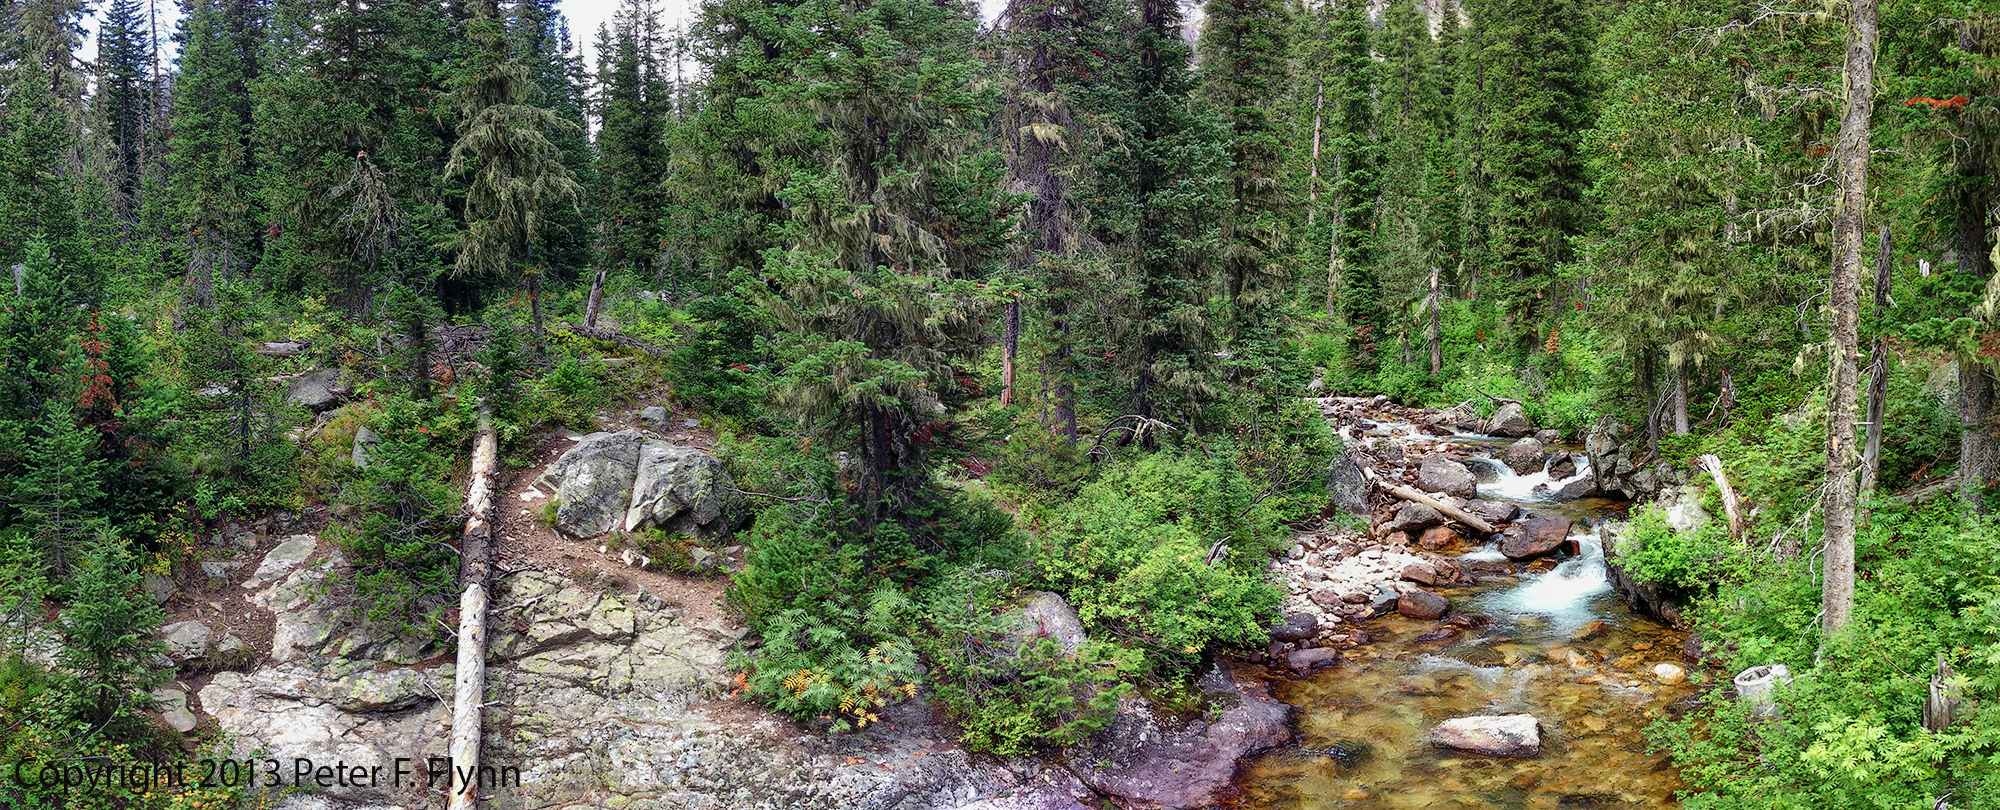
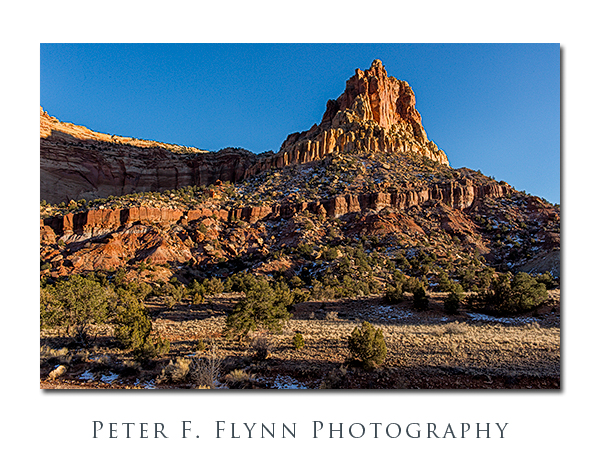
Click on pano thumbnail above to view larger image
The return side of the route provides a compelling view of the descent into the basin and the crossing. Pick a time in the afternoon to walk the route and you will be rewarded with favorable light along the entire route.

Images in this entry were recorded on the afternoons of the September 21, 2012, and September 29, 2013, using the Nikon D800 and D800E at f-stop at f/11 or f/16. Panoramic images were recorded using the Apple iP5 and the Autostitch acquisition application.
Copyright 2014 Peter F. Flynn. No usage permitted without prior written consent. All rights reserved.